
Setup the Payment Hub
Configuration
The Payment Hub is a payment selector interface which appears when your shop or application has several payment methods associated to it. This lets you offer multiple payment methods to the payer from a single integration, maximizing conversion.
To configure multiple payment methods:
- Login to the console
- Create a new or select an existing shop or an application
- In the payments tab, select the payment methods you would like to enable
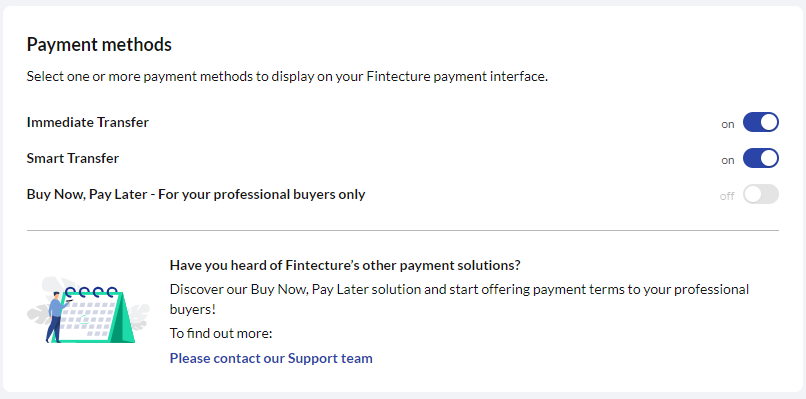
Attach Payment Methods
You can now attach payment methods when creating a request to pay (POST /pis/v2/request-to-pay) or a connect session (POST /pis/v2/connect). The goal here is that, although you have configured the payments in the console, you can select them granularly in the link obtained in the response.
🚧 Be awareBefore proceeding, note that payment methods attached to the request need to be activated beforehand in the Console (see the Configuration section above)
Payment method ids allowed are:
- smart_transfer
- immediate_transfer
The payment methods desired will be attached into meta object as this example: "payment_methods": [{ "id": "smart_transfer" }, { "id": "immediate_transfer", "order": 1 }], where id is mandatory and order is optional.
The possible scenarios after sending the request are:
- If a payment method does not exist or is not activated, an error is returned
- If no payment methods are provided, the default ones are used
- If payment methods are attached and are activated, the payment methods are accepted
If an error is not received, a connect link will be available to redirect to connect with the payment methods desired.
Some payment methods might not be available in your country or in your contractual relationship. Contact support to discover the different payment methods and ask how to get those activated in your account.
Updated 4 months ago